
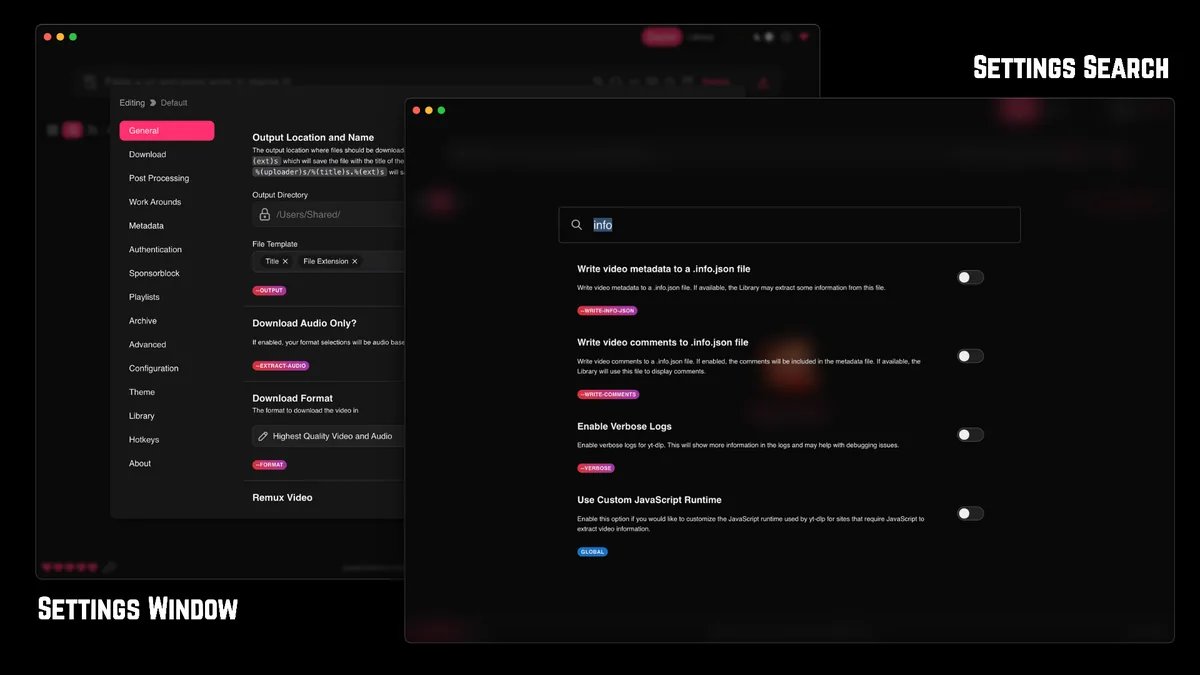
What FFmpeg does in Stacher
FFmpeg is a media-processing toolkit that Stacher can call after yt-dlp has selected and downloaded the source streams. It can combine separate video and audio into one container, extract audio, convert a codec, remux compatible streams and help finalize some subtitle or metadata operations. It is not the website extractor and it does not grant access to a private or paid source.
The visible symptom tells you which stage is failing. If Stacher cannot identify a URL or list formats, start with the source and the managed yt-dlp component. If the transfer stops, inspect the network, source response and local storage. If the video and audio files have arrived but no final MP4 appears, or an MP3 job ends with a conversion error, FFmpeg is a reasonable next suspect.
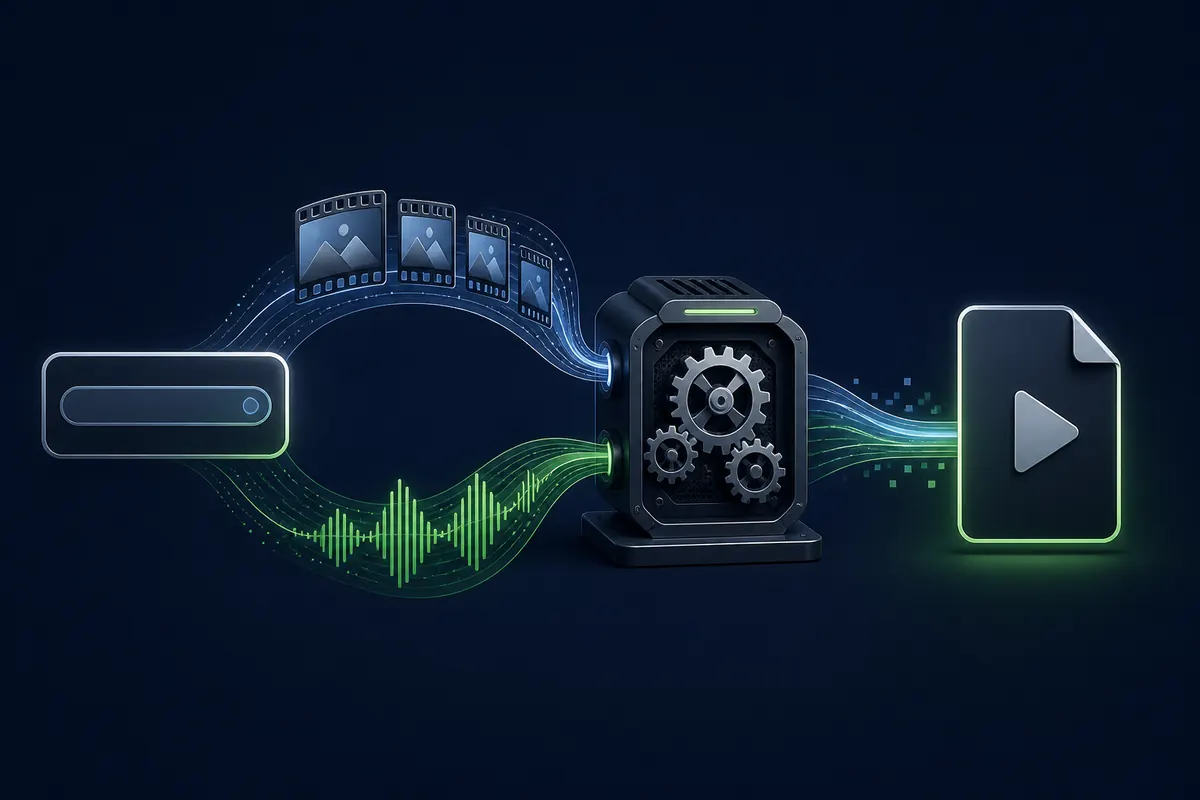
A separate-stream download is not automatically a problem. Higher-quality sources often expose video and audio independently because that gives the extractor more choices. The post-processing step is what turns those inputs into the format you asked Stacher to write. The final file can therefore take longer than the transfer progress suggests, and it may need additional disk space for temporary and merged files.
- Merging: combine downloaded video and audio streams into a playable container.
- Conversion: create MP3 or another requested codec when the source stream is not already suitable.
- Remuxing: place compatible streams in another container without re-encoding them.
- Finalization: write the completed file, chapters, metadata or subtitle sidecars after the main transfer.
Treat FFmpeg as a local post-processing dependency. It does not replace yt-dlp, the source website or your authorization to save the media.
How to install FFmpeg in Stacher step by step
Use the least complicated installation path that you can verify. For most Stacher users, that means opening the app's settings or component controls and allowing the managed FFmpeg flow to install the supported build. The exact labels can move between patches, so search settings for FFmpeg rather than changing unrelated format expressions. The important result is that Stacher can identify an executable and use it for a controlled test.
Do not start with a random DLL, a repackaged installer or a command copied from an unrelated video site. If you choose a manual install, obtain FFmpeg from an authoritative project source or a trusted platform package, record where the executable was placed and make sure the architecture matches the computer. Keep the official source and the file name in your notes so a later path error is easy to reproduce.
- Update Stacher and its managed yt-dlp component, then close any failed job before changing the post-processing dependency.
- Open Settings or the component manager and search for FFmpeg. Choose the supported managed installation when it is available.
- Wait for the component step to finish, then confirm that the settings view shows an active executable or directory rather than only a download button.
- If you use a custom directory, select the folder that contains the real FFmpeg executable. Do not select a compressed archive, a parent downloads folder or a shortcut file.
- Run one short, authorized test that needs a merge or audio conversion. Keep the job log and final file before trying a playlist.
Managed FFmpeg or a custom directory?
The managed route is usually the safer default because Stacher can keep the component beside its own configuration and you have fewer path assumptions to maintain. A custom directory is useful when your organization already manages media tools, when the app cannot write to its normal component location or when you need a verified build that the managed flow does not provide.
Changing to a custom path does not fix a source extractor error. It also does not make an incompatible codec playable. Make one change at a time, record the path, and return to the managed option if the custom executable produces a less specific or inconsistent log.
- Managed: preferred for a normal Stacher desktop setup and simpler updates.
- Custom: appropriate only when the executable, architecture and owner are known.
- Neither path: sufficient when the source itself does not provide the requested stream.
A successful install is not the same as a successful merge. Always complete one representative test and inspect the output.
How to check the FFmpeg path and test a merge
A path check should answer three questions: does the file exist, can Stacher reach it, and does the executable perform the operation that the job needs? The first two can look correct while the third still fails because a package is incomplete, a permission rule blocks execution or the selected streams require a capability that the build does not include. Use the settings view and the detailed job log together.
If the log shows separate video and audio downloads followed by a merge command, the extractor and transfer stages have already succeeded. Compare the temporary file locations, the output folder and the final error line. A missing executable, a permission-denied message, an unsupported encoder or a full disk points to different repairs; do not treat them as interchangeable FFmpeg problems.
Test with a short source and a simple output preset before adding H.264 constraints, language filters, subtitles, custom metadata or a large queue. Once the merged file plays and its duration, audio and container are correct, repeat the same preset with a second representative source. Only then should you trust it for a playlist or live recording.
- Confirm the path points to an executable location, not an archive, cache folder or stale version.
- Check that the output folder is writable and has room for temporary streams plus the final file.
- Read the first specific FFmpeg error after the last successful download event.
- Open the completed file and inspect its container, video codec, audio codec, duration and subtitle behavior.
Use one merge test instead of a large batch
A short public or otherwise authorized source is a better diagnostic than a long playlist. It reduces the number of variables and lets you distinguish a broken local post-processing path from a source-specific format problem. For a video test, choose a normal video-and-audio preset. For an audio test, choose one supported audio-only preset and verify whether the result is a direct stream or a conversion.
When the test passes, keep the exact preset, component path and date in a small note. If the next failure happens after a Stacher or yt-dlp update, you can compare the working baseline rather than changing five settings at once.
The file extension alone is not proof that the merge worked. Inspect the playable result and the log stage that created it.
Fix common Stacher FFmpeg errors
When a download reaches 100 percent and then fails, first check whether the local file is actually complete. A post-processing error can leave temporary video and audio files beside the intended output. Preserve the log, note the source URL without sharing private cookies, and check disk space before retrying. Deleting every temporary file immediately can remove the evidence needed to identify the failed stage.
If the error says that FFmpeg cannot be found, return to the active path and confirm that Stacher is using the same executable you tested. If it says that the output cannot be opened, inspect permissions, a locked destination file and unsupported characters in the path. If the encoder or stream is unsupported, simplify the preset and test a compatible container before attempting a conversion.
Do not add browser cookies or disable operating-system security as a response to an FFmpeg error. Cookies address authorization and account context; FFmpeg addresses local media processing. Keep those investigations separate and use the smallest safe change that can prove the cause.
| Symptom | Likely owner | First useful check |
|---|---|---|
| Video and audio download, but no final file | Missing path, permission or merge failure | Read the first FFmpeg line after the last successful transfer and check temporary-file space. |
| MP3 job ends with conversion error | Audio encoder or FFmpeg capability | Try one audio-only preset, verify the executable and compare MP3 with M4A or Opus. |
| Final file is created but will not play | Container, codec or incomplete finalization | Inspect the file properties and repeat with a simple compatible container. |
| The path looks correct but Stacher says FFmpeg is missing | Wrong executable, stale setting or permissions | Re-select the actual executable directory, restart the app and run one test. |
| Large queue fails after several items | Disk, file lock, source variation or resource pressure | Test one representative item and check storage before changing concurrency. |
Audio conversion, metadata and cover art
An MP3 file can be created successfully while metadata or cover art is incomplete. That is a separate post-processing result, not proof that the download failed. Check the source metadata, the selected audio format and the output template before blaming FFmpeg. M4A or Opus may avoid an unnecessary lossy conversion when your player supports them, while MP3 remains useful for broad compatibility.
For playlist track numbers, use a predictable file-name template and test one item before a batch. If a player does not show artwork, compare the actual tags in the finished file and the source's available metadata. Do not assume that every source exposes a reliable cover image or translated title.
Windows, macOS and Linux path differences
Windows paths may be affected by permissions, antivirus quarantine, drive letters or a folder inside a synchronized directory. macOS can apply app and folder access rules, and a custom executable may sit outside the location that Stacher can read. Linux users should confirm whether the package architecture and executable permissions match the distribution; a Debian package path is not the same thing as an AppImage or a system-wide binary.
The repair sequence stays the same: identify the actual executable, confirm access, test a simple merge and only then return to quality or batch settings. A platform page can help with the installer and first-run context, while this guide remains focused on the FFmpeg component.
Keep logs and non-sensitive error text when asking for help. Never send passwords, exported cookies, private media URLs or copyrighted files.
Build a repeatable Stacher FFmpeg workflow
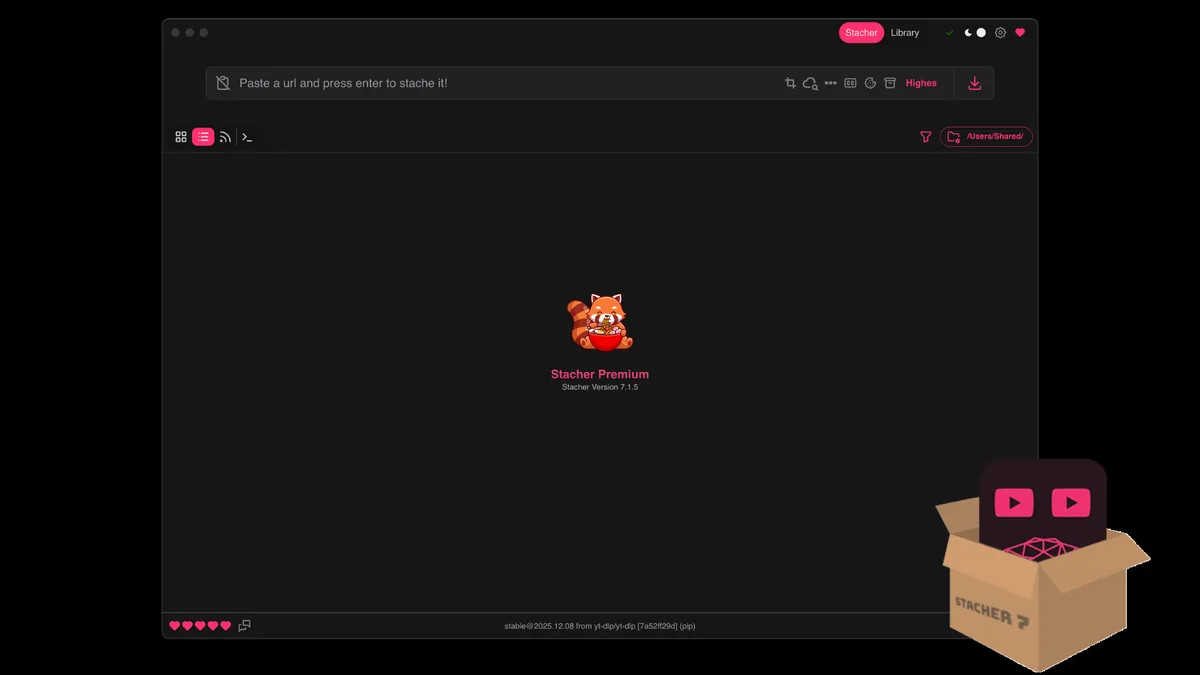
A dependable setup is a small baseline, not a collection of unexplained tweaks. Record the Stacher version, managed or custom FFmpeg choice, component path, output folder, format preset and one successful test result. The current verified Stacher release is 7.1.12 as checked on August 11, 2026; release facts and component behavior can change, so re-check the official source when the app updates.
Before a batch, run a short video test and an audio test when both workflows matter. Confirm that the result is playable, that the output folder contains the expected file, and that the log ends after finalization rather than during the merge. Then add a second source with different stream behavior. This catches a format-specific success that would otherwise look like a universal FFmpeg fix.
If an update changes the result, compare the new log with the saved baseline. Roll back only through a known supported path, avoid random binaries, and keep authorization and source-site limitations in the decision. FFmpeg can complete local processing, but it cannot make unsupported or unauthorized media available.
- Write down the current Stacher version and the FFmpeg installation mode.
- Run one simple video merge and one audio conversion only when both are part of your normal workflow.
- Inspect the final files and save the relevant non-sensitive log lines.
- Run a second representative source before starting a playlist, live stream or high-concurrency queue.
- When the workflow changes, update the note instead of layering another unexplained path or format override.
Use Stacher for media you own, created, received permission to save or may otherwise lawfully download. A working FFmpeg path is not permission to copy a source.
Stacher FFmpeg FAQ
Do I need FFmpeg to use Stacher?
Not for every download. FFmpeg is commonly needed when Stacher must merge separate video and audio streams, convert audio or complete certain post-processing tasks. A simple single-stream download may work without it.
How do I install FFmpeg in Stacher step by step?
Update Stacher and yt-dlp, open Settings or the component manager, search for FFmpeg and use the managed installation when available. Confirm the active executable or directory, then test one short authorized source that needs a merge or conversion.
Where is the Stacher FFmpeg directory?
The exact managed location can vary by operating system and application patch. Use Stacher's settings and detailed log to identify the active path instead of guessing from a cached download folder. A custom path should point to the real executable location.
Why does Stacher finish downloading but fail during merging?
The transfer may have succeeded while FFmpeg could not be found, could not write the output, lacked a compatible operation, or ran out of space. Read the first post-processing error, check the path and permissions, and repeat one simple merge before changing formats.
Does FFmpeg fix missing subtitles or private-video errors?
No. Subtitles and access errors usually belong to the source and yt-dlp stages. FFmpeg can process files that Stacher has legitimately obtained, but it cannot bypass account restrictions or make an unavailable subtitle track appear.
Should I download FFmpeg from a random mirror?
No. Use the managed Stacher flow or an authoritative FFmpeg or platform package, verify the executable and keep a record of its source. Do not use repackaged installers, keygens or unknown binaries just because a merge error is urgent.
Can I use a custom FFmpeg path on Windows, macOS or Linux?
Usually a custom path can be useful when you intentionally maintain a verified installation, but the path, permissions and architecture must match the platform. Test one merge after selecting it and return to the managed option if the log becomes less clear.